Add Disc Brakes to Bike
If you’ve been using V-Brakes on your bike, you’ve probably been considering whether you should switch to disc brakes. Converting V-brakes to disc brakes on a bike is something you can get a bike shop to do, or if you’re feeling confident, you can add disc brakes to your bike yourself.
Adding disc brakes to replace rim brakes on a bike is possible, providing the fork, frame, and brake levers are suitable. You’ll need new wheels with hubs for disc brakes, rotors, disc brakes, cabling, and housing. Ensure all screws are adjusted to the manufacturer’s torque settings when installing.
Before walking you through what you’ll need to add disc brakes at home, I’ll briefly examine the pros and cons of V-brakes versus disc brakes. We’ll look at the process of adding disc brakes, when it’s possible and when it won’t be feasible, and when you may need to upgrade your bike.
Add Disc Brakes to Bike
It’s not always possible to add disc brakes to a bike. Because v-brakes (rim brakes) and disc brakes use different mounting points, it will depend on your bike’s frame. Disc brakes have disc caliper points, and your wheel hub needs the correct fittings for a disc brake.
If your bike can take disc brakes, it might be a cheaper option to only replace the front rim brake with a disc brake and leave the back brakes as V-brakes. Consider also that the cable and tubing of disc brakes are different from rim brakes, and
If you have to replace several parts of your bike, including the wheels, the fork, or even the whole frame, upgrading to a new bike with disc brakes already fitted might be cheaper.
When buying your new disc brakes, you’ll most likely need to buy new wheels if your old wheels don’t have mounting hubs for the disc brake rotors. New wheels have either six bolt holes to fit the disc brakes or a lock ring, as in the Shimano-style hubs.
For some older models, the back of the bike frame might not have enough width between the dropouts to take the new wheel with a hub for disc brakes. It’s possible to expand some steel frames, but in cases like this, you may prefer only to replace the front rim brakes with disc brakes.
Rim Brakes vs. Disc Brakes
Most bikes today use either rim or disc brakes,s though a few may use coaster or drum brakes.
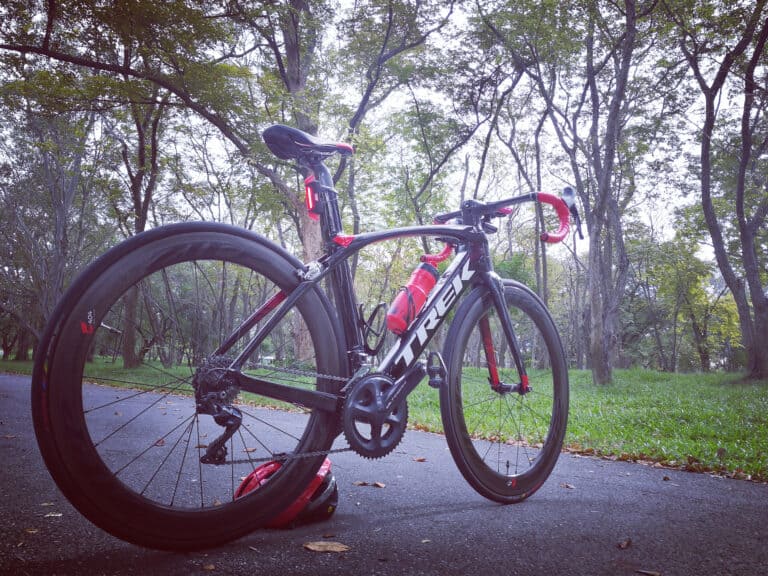
Many road bikes and some older model mountain bikes tend to use V-Brakes or rim brakes. These brakes use a V-grip to apply pressure to the bike’s rim with brake pads. The brakes are usually mounted at the top of the bike from over the wheel.
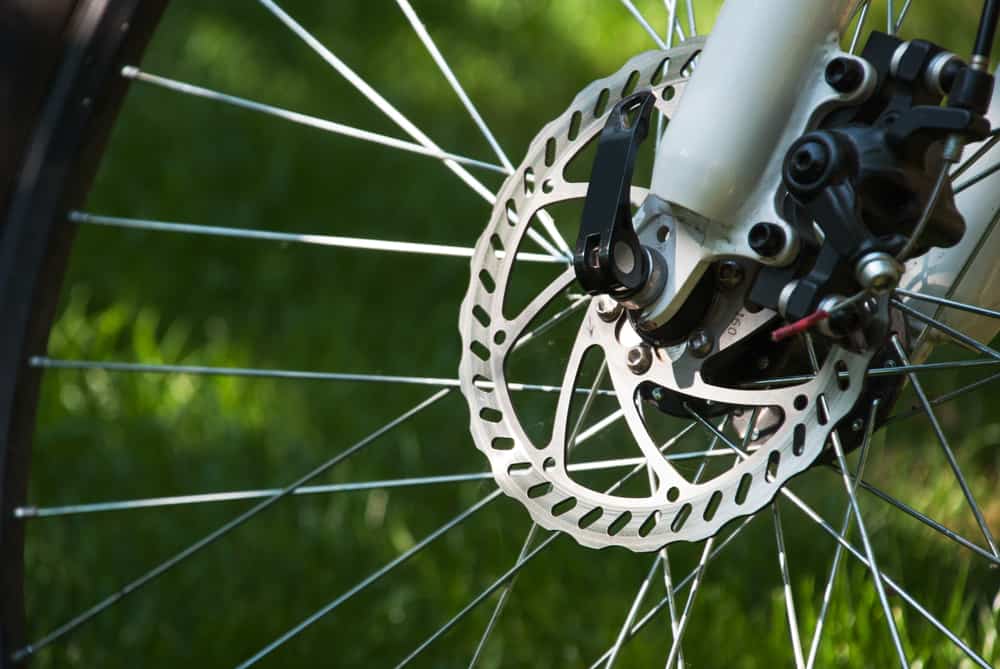
Disc brakes are fitted at the center of the wheel on a special hub and use brake pads against the rotor in the hub.
As you can see, the name of the brake shows where the braking pressure is applied, but how do they differ in action?
Disc brakes are known to have superior stopping and allow for more modulation in the pressure you apply, allowing for slow or fast braking. Disc brakes keep working well even in adverse weather conditions, whereas rim brakes can get ‘sloppy’ when the rims are muddied or wet.
Rim brakes are much lighter than disc brakes, so when it comes to speed, some racers prefer their road bikes or BMX bikes to have as little excess weight as possible and opt for rim brakes.
Rim brakes are far easier to install and adjust when setting up and are generally cheaper to replace.
Is it Worth Replacing Rim Brakes with Disc Brakes?
Sometimes, replacing the old rim brakes with new disc brakes will require only replacing the wheels with disc brake hubs and fitting new disc brakes and cables. If you prefer the performance of disc brakes, it will be worth it in cases like this.
With some bike models, the frames will not accommodate the disc brake setup, and you may have to replace the fork or even the entire frame. If your brake levers cannot take the cables for disc brakes, you’ll also need to replace them with suitable brake levers. By this time, it’s probably cheaper to buy a new bike with disc brakes!
While it’s not impossible to replace rim brakes with disc brakes, it’s quite a long job, and if you don’t already have all the equipment you need, the cost of tools, plus the replacement parts like wheels, it can end up a very expensive process, so you’ll need to look at your bike to determine if it’s worth it.
A high-quality rim brake will do an excellent job of braking and will be suitable for most riders.
How to Remove Rim Brakes and Add Disc Brakes?
If you’ve decided it’s worth replacing your front or both rim brakes with disc brakes, you’ll need to ensure you have all the right equipment. Replacing disc brakes is a long, slightly fiddly job, ensuring your new brakes are installed with the correct torque.
If the torque pressure is off, your disc brakes will squeal when used and may not work correctly, which is a safety issue. Use the instructions and video below to help you through the process. We’ll discuss mechanical disc brakes, as hydraulic systems are a little more difficult to install.
Equipment You’ll Need to Add Disc Brakes:
If you have a decent bike tool kit (Available on Amazon bellow), you should already have most of the necessary tools. If you’re only replacing the front brakes, you’ll only need the front disc brakes:

- protective gloves (Available on Amazon bellow)
- Isopropyl (Available on Amazon bellow)
- Loctite thread locker (Available on Amazon bellow)
- Bike Stand (Available on Amazon bellow)
- Flat-blade screwdrivers
- Philips head screwdrivers
- Cable cutter
- Torque wrench
- Lock ring tool
- Chain whip
- New wheels with disc brake mounts
- Housing and cables (Available on Amazon bellow), if not already supplied as part of the disc brake set
- Disc brake set, front, and rear (if replacing both) should contain rotors and calipers with housing to fit. Higher quality disc brakes are often sold as separate parts, so ensure your calipers and rotors will fit.
- Adaptors for the dropout if your bike frame requires extra protection to prevent damage from using disc brake hubs
- Brake boss plugs (Available on Amazon bellow) if your rim brake mounts are not removable.


Installing the New Wheels and Rotors
- Remove wheels
- Remove V-brakes. You can cut the V-brake cables as you will not be able to reuse them. Whether replacing only the front rim brakes or both, you remove only the front brakes or both.
- Remove all the cables from their cable housings, as you’ll need to replace them completely.
- Replace your old wheels with wheels that have mounts for disc brakes, remove the old cassettes and place them onto the new wheels using your lock ring tool and chain whip.
- Swap your old tires onto the new rims
- Wipe down your new disc rotors with isopropyl to remove any excess oil. Oil on your rotors will contaminate your brake pads, so you want to avoid oil from your hands getting on the new rotors.
- Check your rotor for the direction of the wheel, so you place it correctly, aligning the bolt holes on the mount. If your screws don’t already have Loctite on them, apply it now.
- Install all six screws before tightening them, then tighten each screw and the one across from it to ensure even pressure is maintained across the rotor.
- Use your torque wrench to tighten the snuggly fitted screws a little bit at a time. Tighten them to approximately 55 in/lb.
- Once the rotors are installed, mount the wheels back on the bike.
Installing the Calipers and Cable Housing
- Fit your mechanical calipers with mounting brackets to your rotors. The most common rotor size is 160mm (though you can get smaller and larger.) For a 160mm rotor, you’ll need a 0mm IS bracket on your front caliper and a 20mm IS rear caliper.
- Disc brakes and rotors can be bought in sets to ensure you have the correct fittings.
- Open up the brake shoes on your new front calipers, loosen your bracket, and ensure you fit the calipers in the correct direction.
- Thread the top and bottom screws into position, but don’t tighten them too much. Tighten them to the manufacturer guide’s torque settings when they’re in place.
- Repeat this process for the rear calipers.
- Install the cable housing from the brake levers to the caliper housing. Run the front housing from the caliper inside the fork and brake mount to the fork bridge. Use a cable tie to tie the housing to the fork bridge to keep it from touching the wheel.
- Cut the housing to the correct length.
- Fit the protective end caps to each end of your new cable housing.

Installing the Brake Cables
- If your old V-brake levers are suitable for taking disc brake cables, you can reuse them. Cantilever brake levers will need to be replaced, however.
- Feed the new cable into place from the levers, then run through the cable housing.
- Run the cable through the barrel housing, then through the caliper clamp.
- Adjust and tighten the brake shoes by rotating the caliper dial until the pad touches the side of the rotor.
- Hold the brake lever down, and adjust the caliper drivers by tightening the screws. Torque the bolts as per the manufacturer’s instructions.
- Trim the excess cable on the caliper to 20mm, then cap with a crimp end to prevent the cable from fraying.
- Make any further adjustments to the brake cables and caliper.
RJ the Bike Guy has a comprehensive video about converting rim brakes to disc brakes on a mountain bike.
Installing The Rear Disc Brakes
Follow the same procedure for the rear brakes, but run the housing along the frame, using cable ties to keep the housing neatly in place.
Once you’ve fitted your new brakes, you’ll want to deal with the old posts from your V-brakes. On some bikes, these are removable. If yours are not, you can cut them off with a hacksaw, grind them down with a Dremel, or cover them with plastic plugs.
Conclusion
It’s possible to refit your bike with disc brakes, and although the process takes time and requires some fine-tuning of fitting and pressure to ensure your brakes are properly set, it’s possible to add disc brakes to your bike at home.
In some cases, it might only be possible to replace the front brakes, so you’ll end up with a hybrid disc/rim brake bike. On some older models of bikes, so many parts will need to be replaced that it makes more financial sense to upgrade your old bike to a new bike with a disc brake system.
Reference:
- https://www.cyclingnews.com/features/disc-brakes-vs-rim-brakes/
- https://communitycyclingcenter.org/shop-tip-types-of-brakes-and-levers
- https://www.bikeradar.com/features/road-disc-brakes-everything-you-need-to-know/
- https://www.roadbikerider.com/converting-your-bike-to-a-hybrid-disc-rim-brake-setup-part-2-d3