Can You Add Gears To A Bicycle?

Cyclists generally don’t want to pedal excessively fast, nor do they want excessive resistance when pedaling. Having a range of gear ratios makes it possible to find the right ratio where the pedaling cadence and resistance are both comfortable.
You can add gears to a bicycle; however, it may be more expensive than if you had purchased a new bike. Depending on your bike, an Internal Gearshift Hub or a cassette/freewheel setup can be applied, with the front cog also being added to, which multiplies the gear options.
In theory, it is a simple task to add gears to a bicycle by removing the old or conventional hub system and replacing it with a set of gears at both the driving and driven side of the transmission system. You will also need to install a gear actuating lever mechanism to the bicycle’s handlebar. How hard could it be?
You Can Add Gears To A Bicycle
There are several ways to Add Gears To A Bicycle.
The biggest issue to consider is how the dropouts are set up on the back wheel and the best solution for your bike.
You will need to install the following.
- Internal gearshift hub or cassette/freewheel.
- Front crank with the derailleur.
- Gera selector levers and gear cable.
Another consideration is that you can also add gears to the crank. The options for you to consider are listed below.
Option One – Internal Gearshift Hub
If your bicycle has horizontal dropouts, adding an internal gearshift hub is your only realistic option because fitting a rear derailleur on the open end of the horizontal dropout will be very difficult.
You can choose between three and up to fourteen-speed hubs. They also have options for coaster brake (obsolete and hard to find), drum or roller brake, wheel brake, or single gear freewheel.
Option Two – Cassette/Freewheel
If your bike has semi-vertical dropouts (angled dropout), a cassette/freewheel is an option because nutted hanger adapters that bolt inside of the dropout behind the axle are still available.
Always consider the following two things when swapping to a multi-speed freewheel or cassette hub.
- The first is outer locknut diameter, where we will need to measure the space between the rear forks, which can be accomplished by measuring the space between the dropouts (from inside of the dropouts).
- Next, check your frame to see if it is Steel or a material such as aluminum or carbon fiber which is essential because the frame may need to be stretched in the event the dropout space is too small for the new hub.
Most single speeds are between 110 mm to 118 mm, and most freewheel hubs are 126 mm for five through to ten speeds are also available.
It is very important to confirm this measurement and check carefully that the freewheel hub is suitable because some freewheel hubs can also vary between 130 mm to 135 mm to accommodate the wider width of freewheels greater than seven gears.
You can employ two methods depending on the material the frame is made from.
A Bicycle Frame Made From Steel
If your bike has a steel frame, it is possible to stretch the frame using a piece of threaded stock ten mm thick tube about 12 inches in length.
After you have stretched the frame, thread the stock in reverse from the axle (i.e., on the inside of the dropouts).
Use two nuts and two large washers (at least 1.5 inches) and turn the nuts with a wrench to push the dropouts away from each other three full turns at a time per side until the dropouts are approximately 10 mm beyond what is needed for the new hub axle.
When the tension from the nuts is released, the dropouts will have been spread wide enough to accommodate the new hub.
A Bicycle Frame Made From Any Other Material
If your bicycle frame is made from any other material, including carbon, it may be difficult to widen the dropout.
The only feasible method to change the dropout width may need to be cold set since attempting to stretch may cause the forks to break.
The Front Gears (Crank)
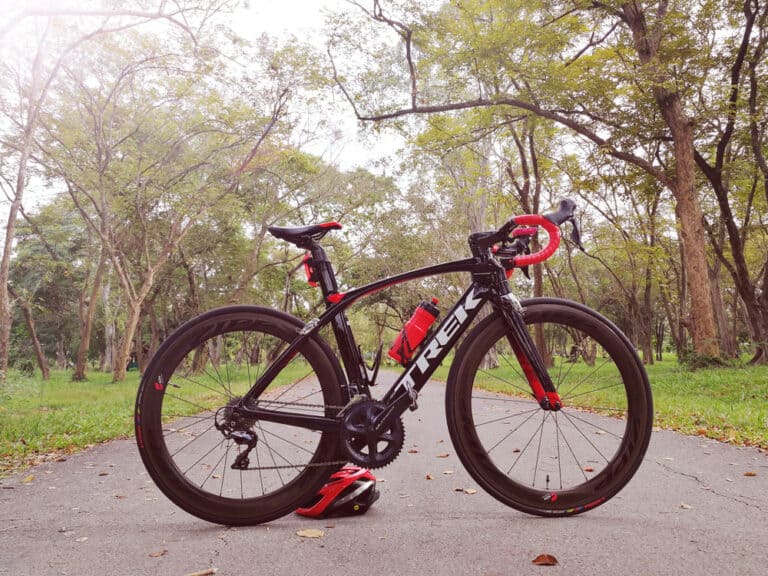
The crank can be changed to use a double or triple chainring which, on a ten-speed gear, means that there are up to thirty different ratios for you to choose from.
Road bikes generally have two chainrings, with the low gear being a 52-tooth big chainring and the higher gear being a 39-tooth small chainring.
The front crank requires a front derailleur to enable the gears to be selected, and as indicated, this multiplies the available gearing ratios.
The Gear Levers
The next stage is to install the gear actuating lever mechanism (gear change levers) to the handlebars.
The conventional layout is as follows.
- To have the internal gearshift hub or cassette/freewheel lever on the right-hand side of the handlebars, which are activated by the right hand.
- A gear selector adjusts the derailleur, which adjusts the front crank on the left-hand side of the handlebars, which is manipulated by the left hand.
If you add gear cables to an existing, non-geared bike, the cables will probably be routed outside the frame.
Out the bicycle on a stand (if you don’t have a stand, you can turn it upside down, always making sure that you do not damage the saddle and handlebars).
Turn the crank and test that the gear changing of each unit works, as it may need some adjustment which you can do at the derailleur side.
You must tighten the attachment clamps very securely and ensure you clip the two cables to the frame and keep it looking neat and orderly.

Conclusion
Adding gears to a single gear, “non-geared” bicycle is possible; however, by the time you have purchased all of the necessary parts, it may be easier to buy a new bike with the gear ratios that work for you.
If you decide to proceed, the most important part of the process will be installing an internal gearshift hub or a cassette/freewheel unit with a derailleur.


